Loyal readers will member the clay bear mobile I made for my aunt's forthcoming baby a few weeks ago. For that project I'd purchased a large supply of Premo Sculpey clay - and I had a lot of leftover afterwards. This weekend I thought it was high time to make use of the leftovers, so I decided to put my bead-making skills to work and craft beads for a few new and easy-to-make necklaces.
I started my crafting by scouring Pinterest for any handy tips-and-tricks that might come in handy as I was forming the beads. Elaine Robitaille's great shapes tutorial, Clay Bead Basics, really came in handy when deciding which bead shapes that I wanted to try for my necklace and key-chain creations.
I started my crafting by scouring Pinterest for any handy tips-and-tricks that might come in handy as I was forming the beads. Elaine Robitaille's great shapes tutorial, Clay Bead Basics, really came in handy when deciding which bead shapes that I wanted to try for my necklace and key-chain creations.
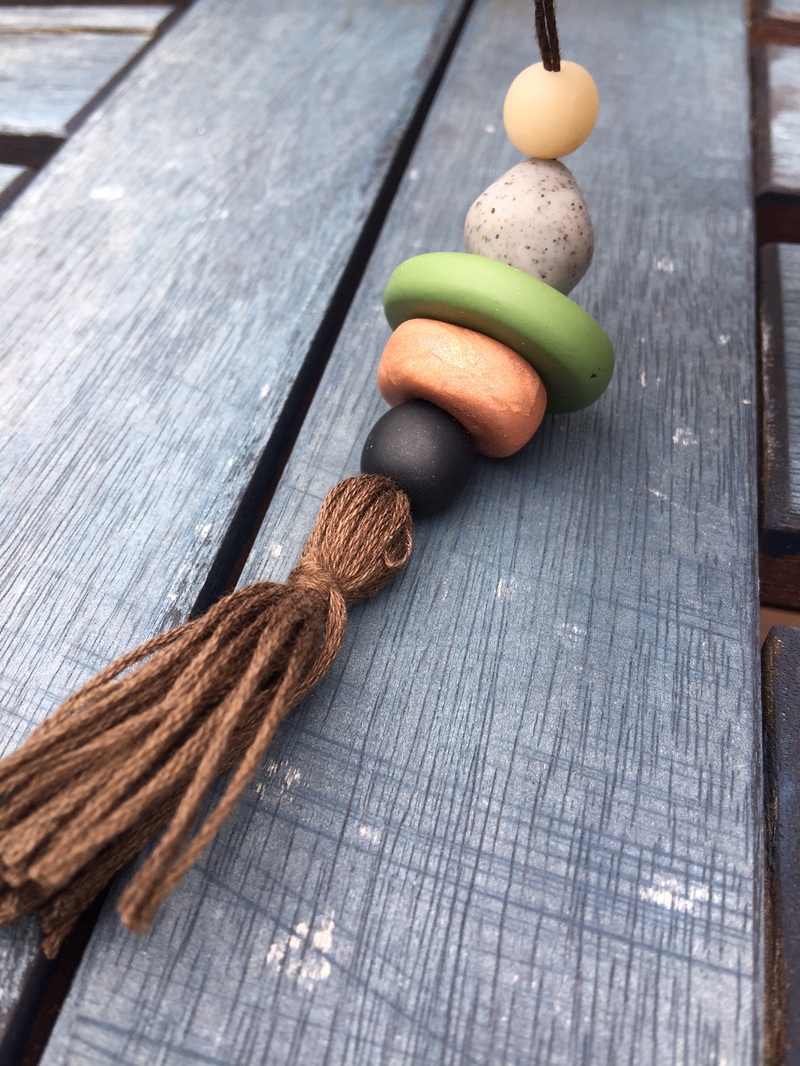
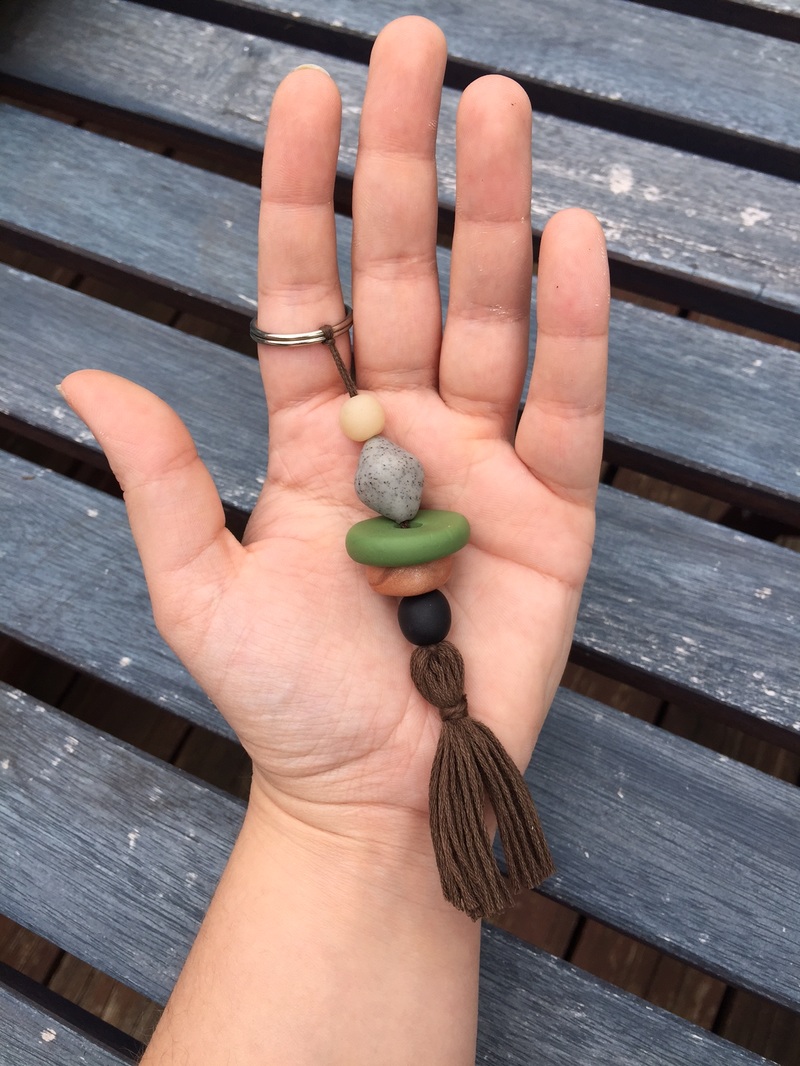
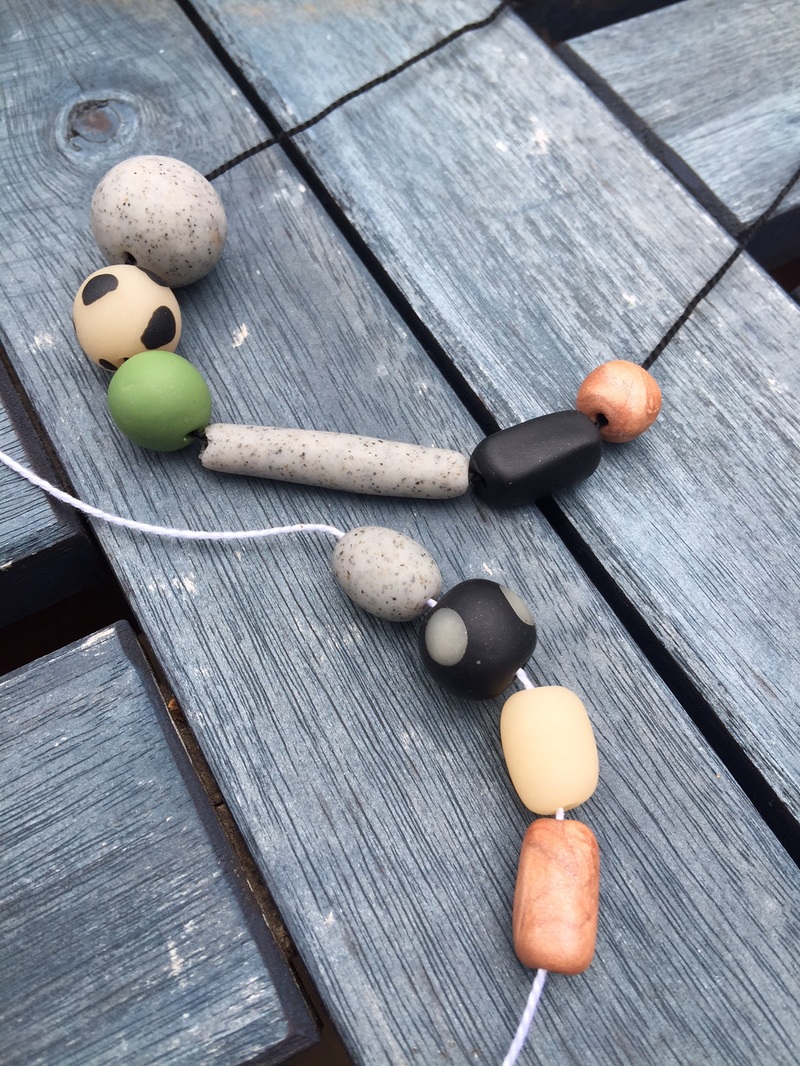
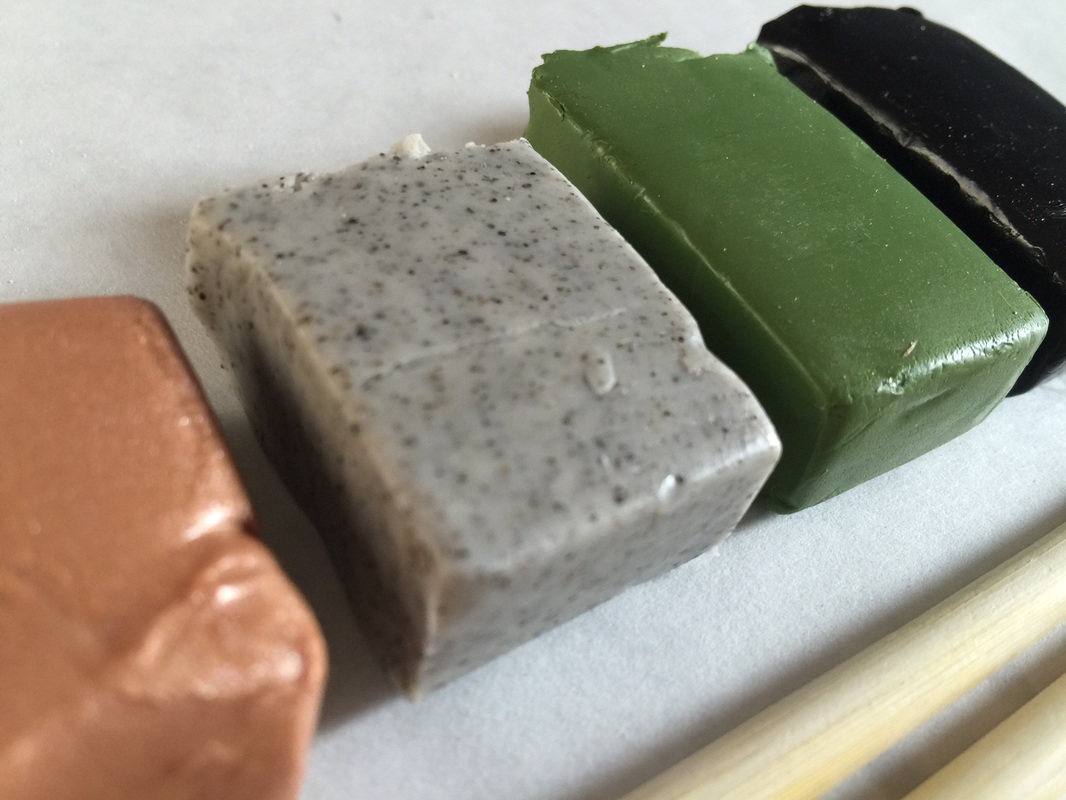
I channeled my sister, Alyssa, when deciding on which colors to use for my beads. Muted, earth tones worked well for this project, 1) because I had a lot of those colors, and 2) because my master plan was to give these necklaces to my mom and my sister, and I knew that they would appreciate the color choices.
I rolled the beads on wax paper and used plastic gloves to avoid fingerprints and mixing of colors. To make the holes, I used toothpicks and "cake pop" sticks for different sizing options, and propped the beads up a bit, so that they'd retain their shape and not need to rest on a flat surface, which would have flattened one of the sides.
I baked the beads following the baking instructions on the packaging - 275F for 30 minutes. I had the beads sitting in small aluminum baking dishes on top of corn starch - this prevented contact burning of the beads, so they didn't turn brown and burnt looking.
I had a great time making the beads - the project was easy and quick enough to keep my attention, and I knew that I'd have something fun and beautiful to give to my two favorite ladies in the end. I'd happily repeat this project again - and probably will soon - this time in fun, peppy colors for the summertime!
What colors will your beads be?
Until next time,
Naomi
What colors will your beads be?
Until next time,
Naomi
0 Comments
